IP Filter
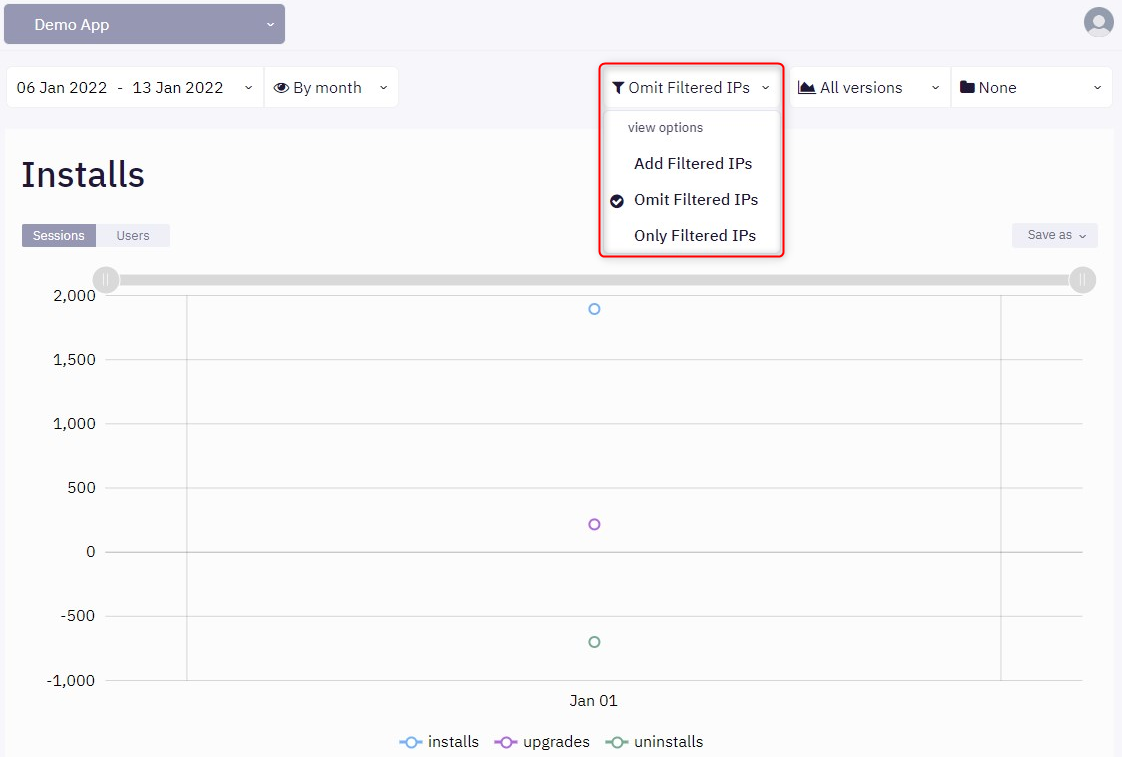
This dropdown allows you to display data on views depending on the current application's IP Filter, defined in the App Settings view. You have three options:
- Add Filtered IPs (displays all available data, including the one generated from the IPs defined in App Settings)
- Omit Filtered IPs (displays all available data, excluding the one generated from the IPs defined in App Settings)
- Only Filtered IPs (displays only the data generated from the IPs defined in App Settings)
Let's say that you have your team which works on the project in a specific location. They will inevitably try to make sure that the package created works on various configurations, under various conditions, and so on. Thus they will be testing the package from that location. Since you may not want to include these tests in your reports, you can add the IP address of the location into the App Settings view and afterward use the 'Omit Filtered IPs' filter.
If, for example, you have blocked several IPs which you know that generate data that you don't want to be included in your reports but still want to know how that data would have influenced the results, had they been included, you have the option to select the 'Only Filtered IPs' option, which will display all the data coming from those specific IPs.
If you want to display all the data, regardless of the IP from which they came, you can use the 'Add Filtered IPs', and thus, no data will be ignored.