Getting Started
Here, we're going to cover, step by step, what you need to do in order to set up Installer Analytics for your Advanced Installer package.
To make things clear from the beginning, in order to use Installer Analytics, you will need to create or have an existing project created using Advanced Installer. Without it, you won't be able to use most of the views, the only exception being the Launch view, which doesn't require the software to be packaged.
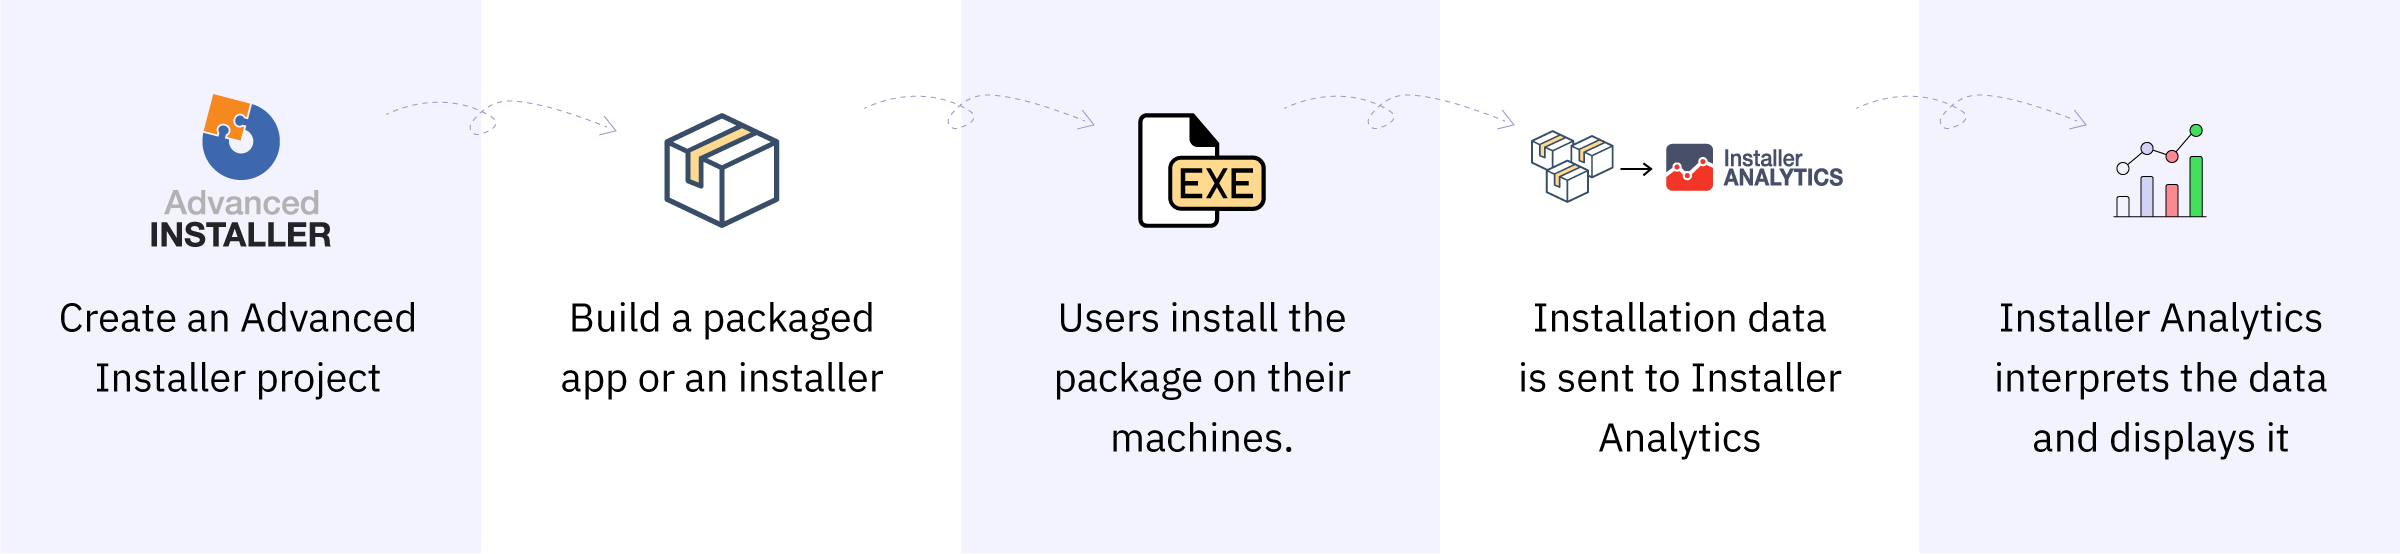
Before we go into details, here's a brief overview of the Installer Analytics flow
First, you need an Installer Analytics account. In case you already have one, you can skip this part. If not, there are multiple ways to get one:
- By buying a new Advanced Installer license bundled with Installer Analytics from here
- By buying a new Installer Analytics subscription from the Installer Analytics site, here, or from the Advanced Installer website, here
- By creating a free Installer Analytics account and receiving a 2-month trial, here
- By buying a new Advanced Installer license from here; please note that this is the second least preferred option as it requires you to buy a subscription afterward since you will not get a subscription this way
- By creating a free Advanced Installer account, here; please note that this is the least preferred option as it requires you to buy a subscription afterward since you will not get a trial this way
Second, you need to create an Installer Analytics application. To accomplish this, an active Installer Analytics subscription or trial is required, plus a free application slot. To add a new application, you must:
- Log into Installer Analytics by using this link and entering the credentials for the account created above
- Once signed in, you have to open the Application Picker and press on 'Add new application'
- In the newly opened 'Create a new application' dialog, you have to choose a name for your application; don't worry, you can modify it at any time from the App Settings view
- Once you have decided upon the application's name, you can press 'Create'
- As a result, if you open the Application Picker again, you will notice your new application
- Press on its name and voila! Your new application was created!
Third, you need the Tracking code from the application created above. To find it:
- Make sure that you have your application selected from the Application Picker
- Go to App Settings view
- Under the 'General' section, you'll find a field called 'Tracking code'
- Choose to copy it using the provided 'Copy' button as you'll need it a bit later
Fourth, you need to add the Installer Analytics tracking inside your Advanced Installer package. To do so:
- Download and install Advanced Installer if you haven't done so already
- Create a new project or open an existing one if you have one already; you can use this tutorial for a quick start if you're new to Advanced Installer
- While having the project opened, go to the 'Analytics' view
- Check the 'Track installs using Installer Analytics' checkbox if it wasn't already checked
- Under the 'Tracking' section, paste the Tracking Code you have saved from the Third part of this guide
- Save and build your project
![]() Please note that you need Advanced Installer version 12.0 or newer in order to use Installer Analytics.
Please note that you need Advanced Installer version 12.0 or newer in order to use Installer Analytics.
Fifth (Optional), you have the possibility to include the SDK from here into your application's source code to get the most out of Installer Analytics. This way, you'll have the Launch view populated, which tells you how many clients have actually used your product after installing it. Installer Analytics is mostly based on the installation package and gets its information from it, while this part focuses on the installed product, your application.
Last, you should test your package to make sure that everything works as expected. To make sure that the data isn't polluted with tests, you have the option to add your external IP into the 'IP Filter' section from the App Settings view, or the external IP of any machine on which you plan to test the installation. Thus, any data coming from those IPs will be automatically ignored. You have the option to see the filtered data, include it in your reports, or exclude it altogether using the IP Filter, available for all the report views in Installer Analytics.